Hey, freinds! Today kicks off the Destination Summer release at The Greetery and today's products are my FAVE! I'm starting off with this set of cards, because this is my favorite card that I've made in AWHILE! Before I get ahead of myself, let me tell you about these products!
The new Sprinkled With Kindness stamps and dies are a new beloved favorite for me because you can create these darling watering cans with them!! I LOVE the vintage style of them and considering I currently use two similar vintage watering cans every single morning to water our garden, these are just so fun to create with! Also, have I mentioned my deep, abiding love for green? Haha! Both of our watering cans are shades of green.....they were Bart's mom's and grandma's watering cans and I love them, so of course that's where I went first with my stamped versions! If you saw on Instagram, I stamped a pile of these watering cans in a few different color combos, when I started stamping. You'll be seeing the others in the coming days!
You may have also heard me talking on Instagram, about the fact that I've blown through some 60 thank you cards in the last few months, as I've been sending a thank you tucked in with each piece of artwork that is bought from me, leaving my thank you stash EMPTY! So when I sat down to create for this release, my number one goal, was to make as many thank you cards as I could squeeze in, while getting projects made for the release! These four got me off to a great start!
For the background, I used the Print Shop stencil and a medium gray toned ink, to create a subtle, background pattern that almost reminds me of vintage wallpaper. I love it!
Then, I pulled out the new Budding Beauties: Summer stamp set and stamped a pile of florals. If I stamped one of anything, I stamped three of four of the same thing! That way, I had a big stack and could make multiples of all the cards!
I tucked three of those florals in the watering can and then added one of these cutie pie little tags from the Sentiment Suite: Basics die set. I stamped a little sentiment on it from Sentiment Suite: Thank You. I just used a bit of thread to "tie" it on, and then adhered it into place with foam adhesive.
Gah! Aren't they pretty all spread out like that? Haha!! My thank you stash is growing!!
PRO TIP: You can get away with a really busy background like you see here, by using a neutral colored ink, without detracting from the focal point. The background sort of fades into the....well....background - haha! - and that bright, bold focal point really pops. If I'd stamped the background in more color, the focal point would have been a bit lost.
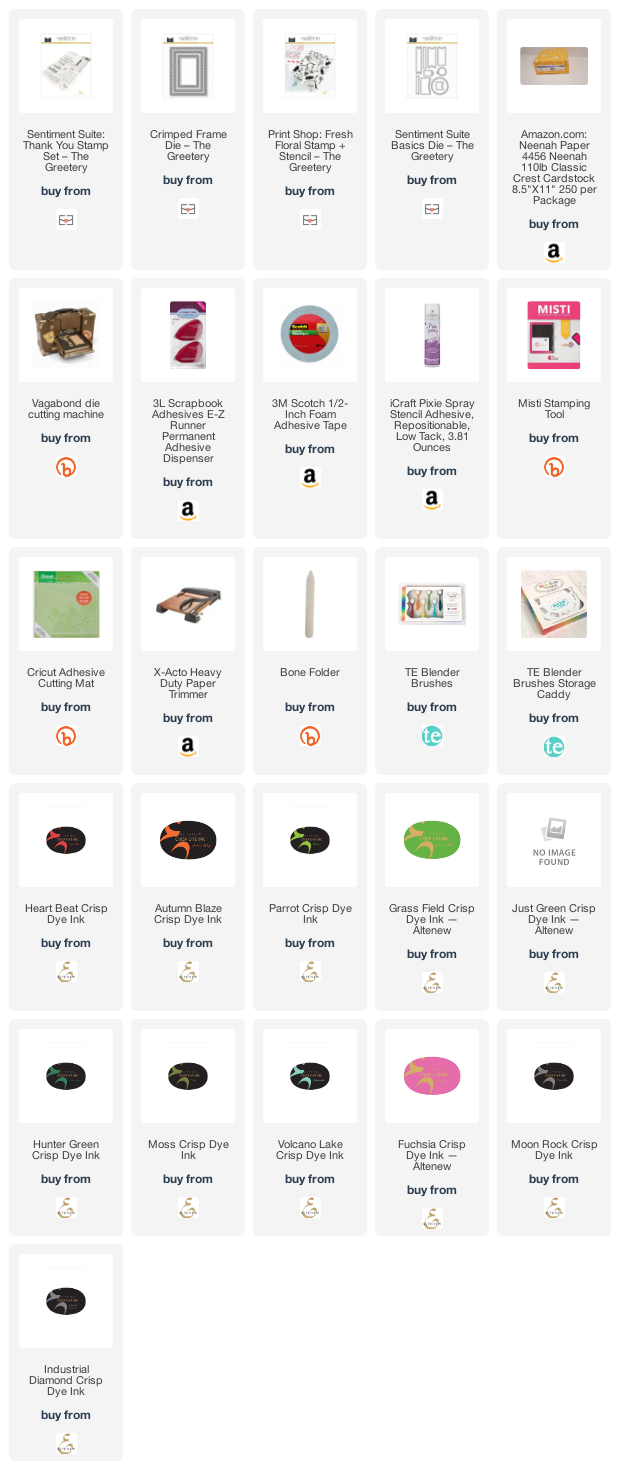
{Thanks So Much supplies -- click on thumbnails}

Next up is this sweet set using more of those same Budding Beauties: Summer florals, with the addition of the new Petite Eucalyptus set! And this time around, I tucked them all in my favorite mason jar stamp from Just Mason Around!!
Did you see the bouquets from our garden, that I shared yesterday on Instagram?? These bouquets remind me of those!! I also shared there last week, my favorite ink color combo for creating vintage style blue mason jars. I've linked the inks for you below, but the three I used for these jars are Mountain Mist, Sea Breeze and Aqualicious.
How sweet are those flowers? And I love the pink with orange on top, for those roses! These multi-step stamps are all really easy to use!
For the background panel here, I stamped a bit of the plaid background, not worrying about complete, careful coverage. I wanted it to be a bit distressed looking. Then, I blended some yellow ink on top with a blending brush, and then die cut the panel with the crimped die.
Lastly, the sentiment is one from the new Sprinkled With Kindness set.
And just like that, EIGHT thank you cards added to my stash! Woohoo!
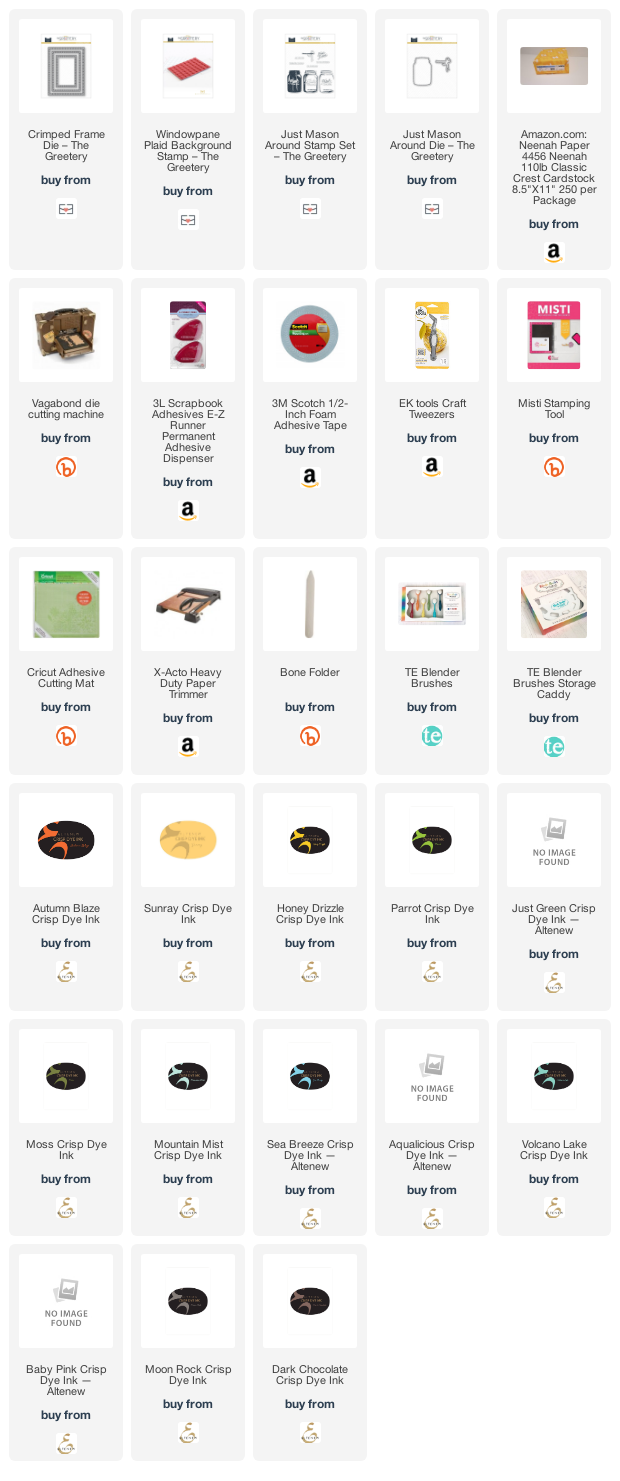
{Thank You supplies}

Ok, so next up is a really sweet set of products! These stamps, dies and stencils are called Print Shop: Peachy Keen and I used them in conjunction with the new Create-a-Crate die set, to create that cutie pie crate full of gift tags!
So for the card set, I knew I was making three of them, so I decided to change up the colors slightly on each one. Just like the previous Print Shop set, you use the stencils first and then stamp on the additional details.
I used a variety of oranges/pinks/reds to create the peaches and then changed up the flowers so that one card has yellows, one has pinks and one has turquoise flowers.
I blended ink on white card stock and then die cut it with the Just Peachy dies for the sentiment, and then added the additional companion sentiment from the new Just Peachy stamp set.
PRO TIP: When you create a really pretty background and don't want to trim any of it off or hide any more of it than you have to with a big focal point, let the background be the star by leaving it in tact! To add some additional interest to your background though, die cut a shape from the background and then adhere both (one popped up on foam adhesive) to your card front! I could have reversed which part I popped up here.....I could have adhered the center flat, and popped the frame up on foam adhesive. Either way, keeping both pieces on the card, lets more of that pretty pattern show, while still adding some "architectural" interest.
You can see in the photo above, how I changed the overall color of the peaches a bit on each one, just by blending slightly different colors. I added a bit of yellow to the peaches on the bottom card, went a bit more red on the top left.
Here are a few close ups of them.
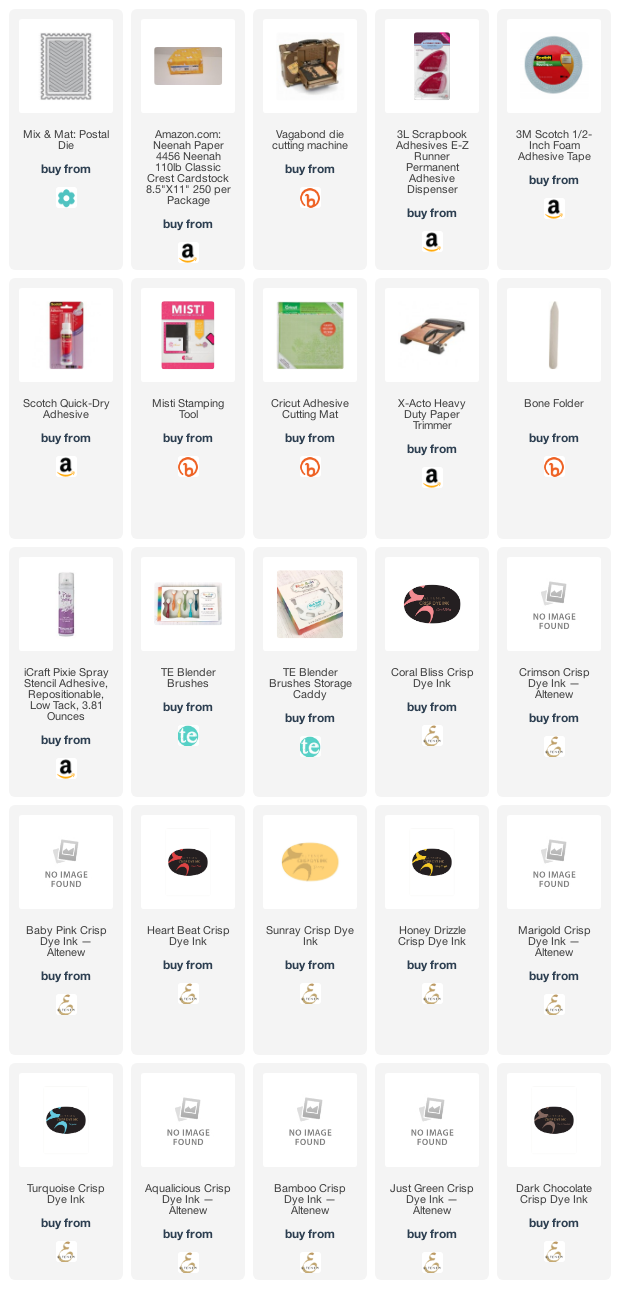
{Such a Peach Cards supplies}

To go along with the cards, I thought it'd be fun to make a pile of fun gift tags! The nice thing about these, is they're not specifically for a birthday or other occasion. By leaving them more "generic", I can grab one whenever I need it, whether it's for a birthday or just a jar of flowers from the garden for a friend!
I used the Speed Tagging die, as well as one of those fun watering cans and a mason jar, for the base of the tags. Then I just added a variety of florals to each! Easy peasy and goodness, making a pretty pile of coordinating tags like this is FUN!
Look how cute they are in the crate!! The sentiment is stamped with white ink and stamps from the new Just Peachy, and then I just dipped a paper towel in the ink and dragged it on the dark gray card stock, to give it a chalkboard feel.
I used the new Create-a-Crate dies to create the little crate and once it was all put together, I added little tiny brads for a bit of a realistic touch!! So cute, right?! Something to note if you want to do this yourself, or if you'll be making lots of crates, is I've used 16 little brads on this crate! So if you're gonna do this yourself, plan your brad purchase accordingly! :)
Golly, I love seeing them all laid out together!!
You'll see a few previously released florals mixed in, as well as new ones from Budding Beauties: Summer along with the peaches!
That watering can....{insert heart eyes emoji!!}
The little crate of tags would be such a fun gift to give someone! Add to it a package of plain kraft gift bags and a few colors of tissue paper, and you've given someone a really cute and practical gift they can use to wrap up gifts of their own!
And, you've given a gift that's not very expensive to put together!!
One last look at the pretty, peachy pile!
{Peachy Tag Set supplies}

At the end of Day 1 of the release, I'd say this is not too shabby of a pile to add to my thank you note stash! :) I'm thrilled to have made this many cards to tuck in with future artwork purchases, but this is only about half of the thank you pile I made! I'll share more soon!
For now, you're gonna want to visit The Greetery Blog and you're also going to want to visit each of these friends, to see what they created with today's new products!
Thanks so much for spending a bit of your day with me! I'll be back tomorrow, with more to share!
Before you go, leave a comment here, to be entered in today's $50 giveaway from The Greetery!! I want one of YOU to win!!
What's your favorite product or project you've spotted from the Greetery today?
Follow me on Instagram, Twitter and Pinterest for all the latest updates. Shop my Amazon Storefront for all my current favorites!
(Affiliates Disclaimer: Just so you know, I sometimes use affiliate links here on my blog, which means that I participate in several affiliate programs, in which I may receive a small commission when you click one of these links and purchase a product at the corresponding product site (usually within a certain amount of time). There are no additional costs for you as a result of these links, but by shopping through these links, you are not only supporting me and the work I do here, but you're also helping me to continue to bring you beautiful content and inspiration here at my blog, for free! Please know that I share products with you that I use and enjoy and I make every effort to represent those to you honestly. Thanks so much, friends, for your support! I appreciate you!)